In the world of IT infrastructure, we often focus on high-speed switches and powerful servers. But behind every clean, fast, and reliable network, there’s an unsung hero working 24/7: the patch panel. It’s the foundational component that transforms a chaotic mess of wires into a professional, manageable system.
If you’ve ever felt frustrated by network downtime or tangled cables, this guide is for you. We’ll explore why a simple patch panel is a non-negotiable asset for any serious network, from a small office to a full-scale data center.
What is a Patch Panel, Really?
Think of a patch panel as the central “switchboard” for all your network’s data cabling. It’s a piece of hardware, typically mounted in a server rack or on a wall, that features a series of ports on the front. On the back, each of these ports is permanently “punched down” (connected) to a cable that runs to a wall jack in an office, a conference room, or another device location.
You then use short “patch cables” to connect the ports on the front of the patch panel to your network switch, router, or other hardware.
This “fixed-back, flexible-front” design is the key. Instead of running a cable 100 feet from a computer directly to a fragile, expensive switch port, you run it to the durable, passive patch panel. This is the simple secret to network organization.
5 Ways a Patch Panel Transforms Your Network
A patch panel isn’t just about tidiness; it’s a strategic investment. Here’s how it pays dividends.
1. Master Your Cable Management
This is the most obvious benefit. A patch panel consolidates all your cable terminations into one clean, labeled location. This ends the “cable spaghetti” nightmare, improves airflow in your server rack, and makes the entire setup look professional.
2. Simplify Troubleshooting (Incredibly!)
When a user’s connection drops, where do you start? Without a patch panel, you’re faced with a tangled mess. With one, the process is simple:
- Check the user’s wall port (e.g., “Port C-12”).
- Go to the server rack and find “Port C-12” on the patch panel.
- Test the connection by swapping the short patch cable with a new one or moving it to a different switch port.
What could have been a 30-minute cable-tracing headache becomes a 30-second fix.
3. Achieve Seamless Scalability
Need to add a new employee or network device? No problem. As long as you have an open port on your patch panel (which you planned for!), you simply run a cable to the new location, terminate it on the panel, and use a short patch cord to connect it to the switch. There’s no need to unplug existing hardware or disrupt the entire network for a simple addition.
4. Reduce Long-Term Costs & Clutter
Network switches are expensive, active electronics. Their ports (RJ45) are not designed for constant plugging and unplugging. By using a patch panel as the intermediary, all the wear and tear happens on the panel’s durable port and the replaceable, inexpensive patch cables. You’re protecting your most critical and costly hardware from physical strain and failure.
5. Boost Network Performance & Reliability
A properly terminated patch panel ensures high-quality, solid connections. This minimizes signal loss (attenuation) and “crosstalk” (interference between cables) that can plague poorly managed, long-run cables. It provides a stable, reliable physical layer so your active hardware can perform at its best.
How to Choose the Right Patch Panel
Not all panels are created equal. Here’s what to consider:
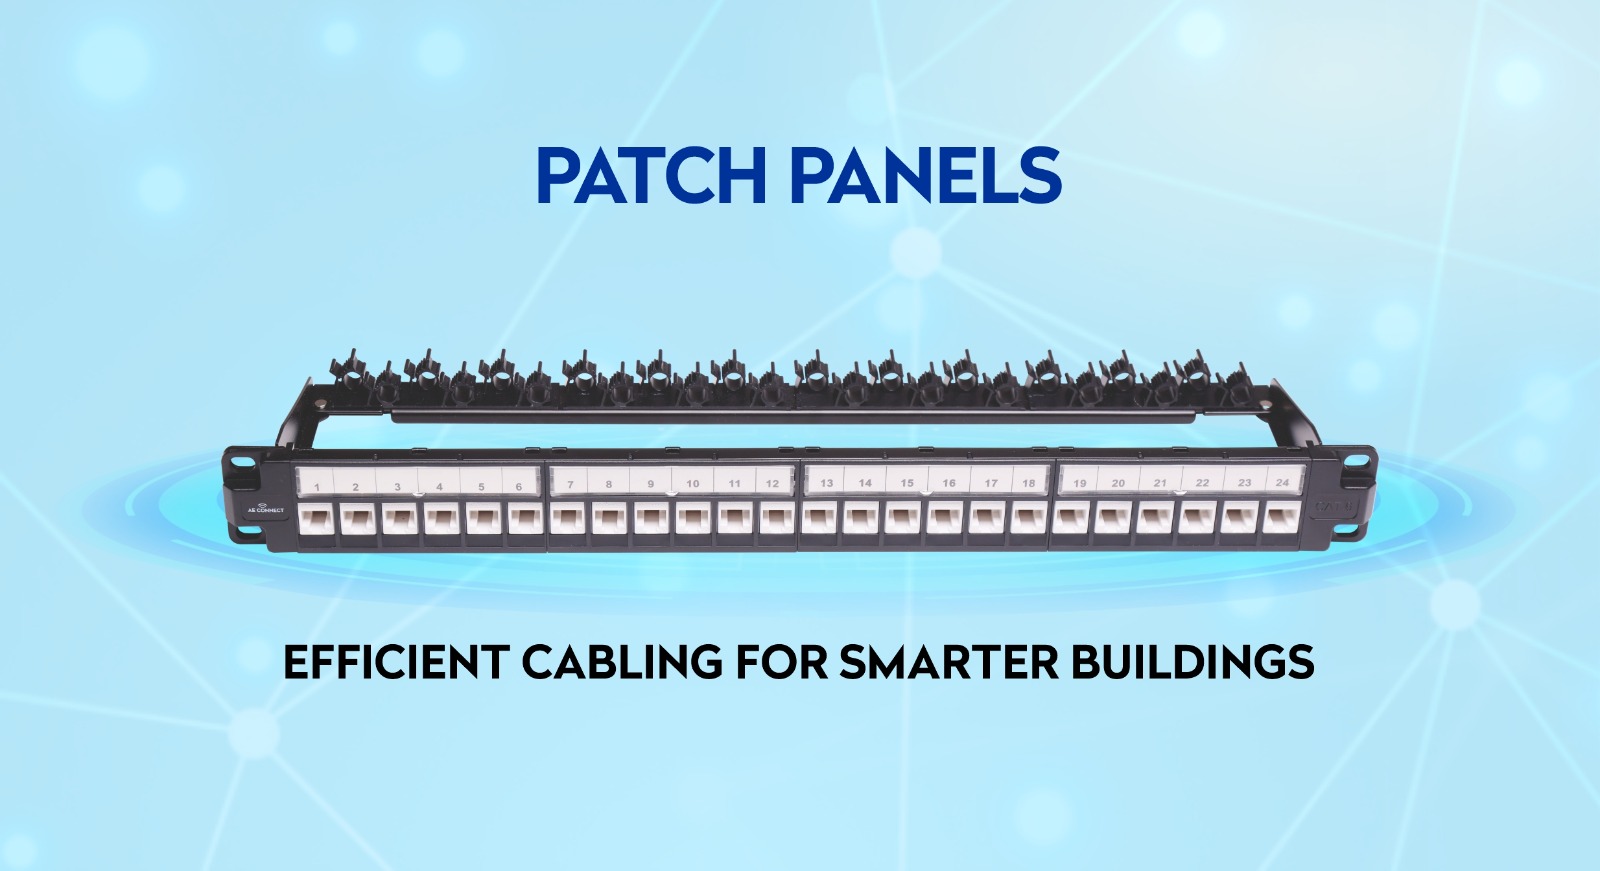
- Port Density: Panels typically come in 24-port or 48-port configurations. Always plan for future growth; it’s much easier to install a 48-port panel now than to add a second 24-port panel later.
- Cable Compatibility: Your patch panel must match your cable type. If you are running Cat6a cable, you need a Cat6a-rated patch panel to get 10-Gigabit speeds. Using a Cat5e panel with Cat6a cable will bottleneck your entire network.
- Loaded vs. Unloaded (Keystone):
- Loaded: These panels come with all ports pre-installed. They are fast and easy to set up.
- Unloaded (Keystone): These are blank panels with square holes. You buy individual “keystone jacks” (for Cat6 copper, fiber optic, HDMI, and other media types) and snap them in. This offers maximum flexibility for mixing and matching connection types.
- Shielded (STP) vs. Unshielded (UTP): If your network is in an environment with high electrical interference (like a factory or near large motors), you’ll need shielded cables and a matching shielded patch panel. For most office and home environments, unshielded is the standard.
7 Common Patch Panel Mistakes to Avoid
Installing a patch panel is straightforward, but these common errors can cause major headaches.
- Skipping Labels: The cardinal sin of networking. If you don’t label both the wall jack and the corresponding patch panel port, you’ve defeated half the purpose.
- Improper Cable Termination: A “punch-down” connection must be done correctly. Badly terminated wires, untwisted pairs, and nicks in the copper will lead to intermittent connection drops that are a nightmare to diagnose.
- Neglecting Cable Management: Don’t just plug it in. Use the panel’s built-in cable management (or add a separate manager) to route cables neatly and provide strain relief.
- Overloading Ports: Tightly packing cables puts physical strain on the ports and can lead to connections failing over time.
- Mismatching Components: Don’t use a Cat5e patch panel with Cat6a cable. You will only get Cat5e performance.
- Forgetting to Test: After installation, test every single port with a quality cable tester. Finding a bad port before it’s in use saves hours of frustration.
- Ignoring Environment: Don’t place your panel in an area with excessive heat, dust, moisture, or high vibration. Ensure proper ventilation and consider a rack enclosure in harsh environments. This leads to premature failure.
Frequently Asked Questions (FAQ)
Q1: What’s the difference between a patch panel and a switch?
A patch panel is a “passive” organizational tool; think of it as a static switchboard. A network switch is an “active” electronic device, a smart traffic controller that directs data. You connect cables from the patch panel into the switch.
Q2: Do I really need a patch panel for my home network?
If you just have a router and a few devices, no. But if your home is wired with Ethernet jacks in multiple rooms, a patch panel is the professional way to terminate those runs in a central closet and connect them to your router or switch.
Q3: What is a “punch-down” tool?
It’s a small hand tool specifically designed to securely insert individual wires from an Ethernet cable into the back of a patch panel port or keystone jack.
Conclusion
A patch panel isn’t just hardware; it’s a long-term strategy for a network that is reliable, scalable, and easy to manage. Ready to transform your network infrastructure from chaotic to clean? Contact AE Connect today and start your journey to better connectivity.